

- Choosing a selection results in a full page refresh.
Couldn't load pickup availability


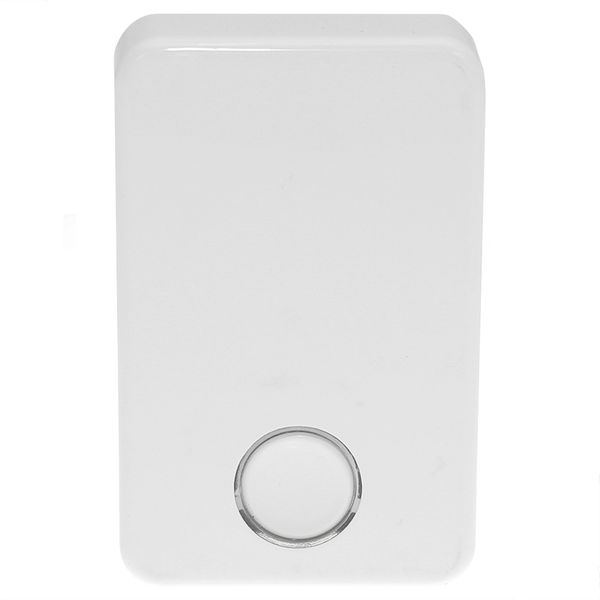
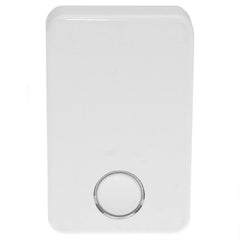
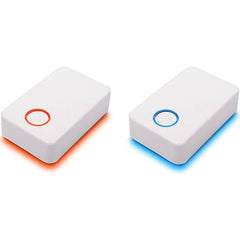
The Gas Cube warns of butane / propane gas (LPG), carbon monoxide, and ether gases. This gas alarm provides reliable protection while traveling. Fixed connection to 12V main. Temperature compensated sensor that works reliably even over 25 ° C. After 40 seconds the unit switches to standby mode. If any of the above gases are detected the alarm will sound. LED indicator: Blue (flashing) = calibration, Blue (steady) = okay / operational, red = alarm + continuous alarm sound (volume 80dB).
This 3-in-1 gas alarm is designed for permanent installation inside vehicles and enclosed living spaces such as motorhomes, campervans, caravans, boats or RVs to give an early warning of dangerous gas leaks. It must be fixed to an interior wall at a recommended height to function correctly.
Mount on an interior vertical surface inside the living area (near floor-level) where gas leaks are likely to collect — e.g., under kitchen cabinets, near gas appliances, or close to the gas bottle/boiler area.
Recommended height:
Approximately ≤ 30 cm (12″) above the floor for best detection of heavier gases like LPG (propane/butane).
Do NOT install directly above a cooker, hob or heat source (steam and cooking vapours can affect sensor life and performance).
Clear airflow: Leave ~20 cm (8″) of clear space around the device so air can freely reach the sensor.
Permanent installation: Connect to the vehicle’s 12 V DC onboard supply with proper wiring and fuse protection.
Before You Start
✔ Ensure you have access to 12 V power and tools for drilling and fixing.
✔ Disconnect battery/power when wiring to avoid shorts.
Position the Alarm
Choose a flat, vertical wall inside the vehicle’s living space.
Mark a spot around 30 cm (12″) from the floor — ideal for LPG detection.
Mark Fixing Holes
Hold the alarm against the wall and mark the mounting hole positions with a pencil.
Drill & Fit Plugs (if required)
Drill pilot holes appropriate for your wall material (e.g., interior panel or ply).
Use suitable wall plugs or screw anchors for secure fixation.
Screw the Alarm to the Wall
Use the supplied or appropriate screws to mount the alarm firmly.
Wire to 12 V Power
Connect red to +12 V positive, black to ground (negative) using suitable cable and fuse.
Ensure the connection is secure and fused per vehicle electrics best practice.
Turn On & Self-Test
Press the central button to turn on the device; it will self-test and calibrate (blue LED indicates ready).
Final Check
After installation, confirm the alarm powers correctly and that all LED indicators light during self-test.
Mount type: Fixed interior wall bracket, hardwired to 12 V DC.
Detection: LPG (propane/butane), carbon monoxide (CO), and narcotic gases.
Operating voltage: 12–30 V DC (vehicle onboard supply).
Mounting height: About ≤ 30 cm (12″) above the floor (for LPG gases).
Clearance: Leave at least 20 cm (8″) around the device for airflow.
Avoid: Directly above hobs, cookers or heat sources.
Indication: LED and audible alarm to signal pre-alarm and full alarm state.
Safety tip: Regularly test the alarm and inspect wiring annually as part of your caravan/motorhome safety checks
Thanks for subscribing!
This email has been registered!
| Product | SKU | Description | Collection | Availability | Product Type | Other Details |
|---|