


- Choosing a selection results in a full page refresh.

Couldn't load pickup availability


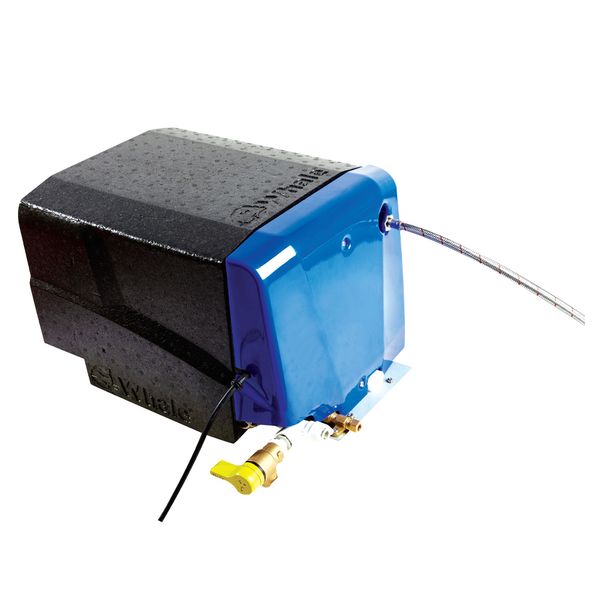
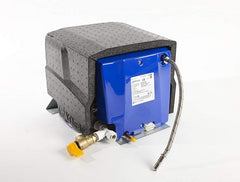
The Whale High Capacity 13 L Storage Water Heater Mk2 (WH1302) delivers a large-volume hot water supply for caravans, motorhomes and campervans with dual-fuel flexibility. Designed to provide extended hot water capacity and reliable performance, this robust storage heater features a simple control panel, efficient insulation and the ability to run on both LPG gas and electric power.
Large 13 L Capacity: Great for longer showers and more hot water between cycles.
Dual Fuel Operation: Works on butane/propane gas or 12 V/230 V electric power.
Efficient Insulation: Keeps water hot longer and improves performance.
Easy-Use Control Panel: Simple operation and choice of heat settings.
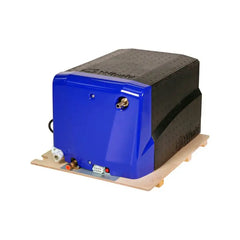
Robust Design: Neat compact form and lightweight for straightforward installation.
Gas & Electric Operation – Versatile dual-fuel design for both hook-up and off-grid use.
High Capacity Storage Tank – 13 litre hot water volume for extended use.
Robust Insulation – Reduces heat loss for better efficiency.
Easy Control Panel – Intuitive settings for temperature and mode control.
Lightweight & Compact – Only ~10 kg (dry) with dimensions suited to compact under-floor or interior locations.
Front & Rear Mounting Feet – Easy installation in caravans and motorhomes.
| Specification | Details |
|---|---|
| Capacity | 13 litres |
| Pressure Relief Valve Setting | 2.6 bar |
| Max Water Inlet Pressure | 1.9 bar |
| Gas Type | Butane & Propane |
| Heat Input (Net) | 1.25 kW |
| Gas Consumption | ~93 g/hr |
| Electric Power Settings | 600 W – 1200 W |
| Current Consumption (12 V) | ~0.36 A (~0.01 A standby) |
| Current Consumption (230 V) | ~2.6 – 5.2 A |
| Weight (Dry) | ~10 kg |
| Approx. Dimensions | ~271 × 385 × 470 mm |
✅ 1 × High Capacity 13 L Storage Water Heater (Mk2)
✅ Easy-use control panel with cable (where supplied)
✅ Pressure relief/valve assembly and fittings
✅ Front & rear mounting feet
✅ Flue assembly
✔ Extended Hot Water Supply – More capacity for showers, wash-up and family use.
✔ Flexible Power Options – Works with gas off-grid or electric on mains.
✔ Easy Installation – Lightweight construction and mounting feet assist fitting.
✔ Efficient Insulation – Retains heat and trims energy use.
✔ Responsive Controls – Simple panel options for quick temperature selection.
This water heater must be installed and serviced by a qualified gas engineer and comply with all manufacturer instructions and local safety regulations. It isn’t suitable for static installations where movement isn’t expected (e.g., fixed holiday homes).
Caravan and motorhome owners needing more hot water capacity
Families or multi-person touring vehicles
Camper van conversions where space and performance matter
Thanks for subscribing!
This email has been registered!
| Product | SKU | Description | Collection | Availability | Product Type | Other Details |
|---|